折腾搬瓦工–03–配置LNMP并安装wordpress
文章目录
前言
又到了写博客的时间,今天总结一下在ubuntu 14.04 x86下配置LNMP及wordpress,环境是我们上一篇中已经安装好的,如果没有像上文一样配置过的话,请注意修改系统的LL_ALL与LC_CTYPE,不然会卡在MySQL的安装上,最后尽管只安装了这么少的东西,128mb内存的压力依旧巨大,这里只复习下配置过程,写博客什么的,还是呆在这个域名里就好。所以配置完后,拍个快照,就恢复到只安装了ss的状态。
安装
步骤:
1.安装配置MySQL与php5-mysql
2.安装配置nginx与php-fpm
3.下载wordpress,配置路径
4.安装配置phpmyadmin
5.配置wordpress
相关依赖会自动安装
命令:
1apt-get install mysql-server php5-mysql
输出如下
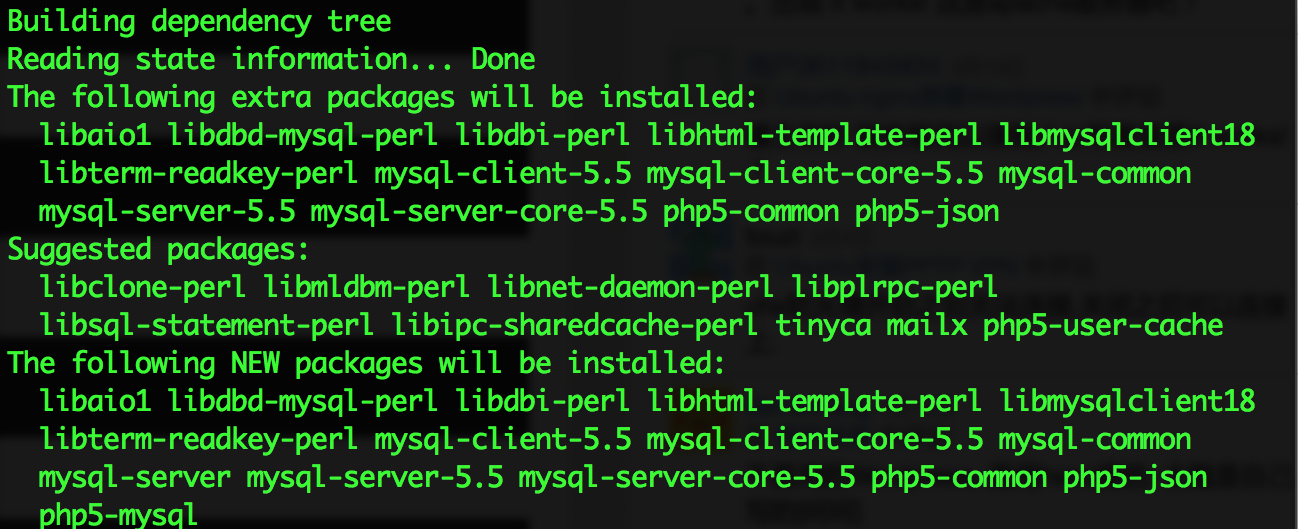
安装后会提示输入MySQL的root密码,因为已经配置好语言环境,所以不用担心乱码了。
然后是nginx与php-fpm
1apt-get install nginx php-fpm
这里不列出自动安装的依赖了,安装完成后,直接访问vps的ip地址就可以看到index.html了,接下来开始配置
配置
修改 /etc/php5/fpm/php.ini,将cgi.fix_pathinfo的注释解除并设置为0
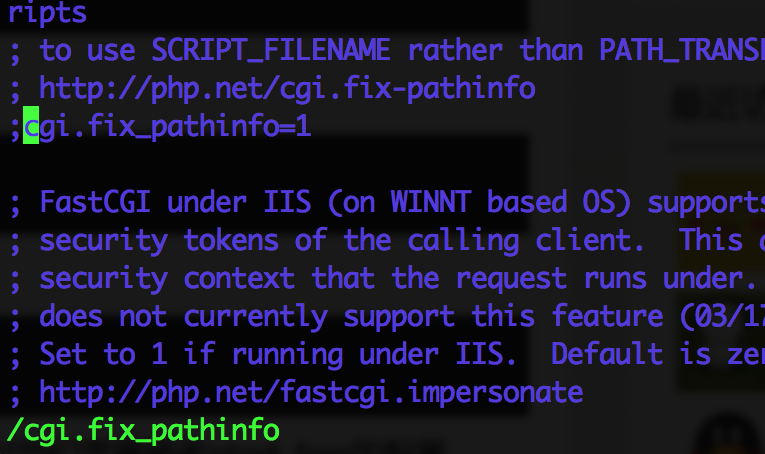
vim的搜索技巧
在命令模式下按/或者?可以向下或者向上搜索,输入匹配单词后按回车确认,接下来按n可以找到下一个匹配项目
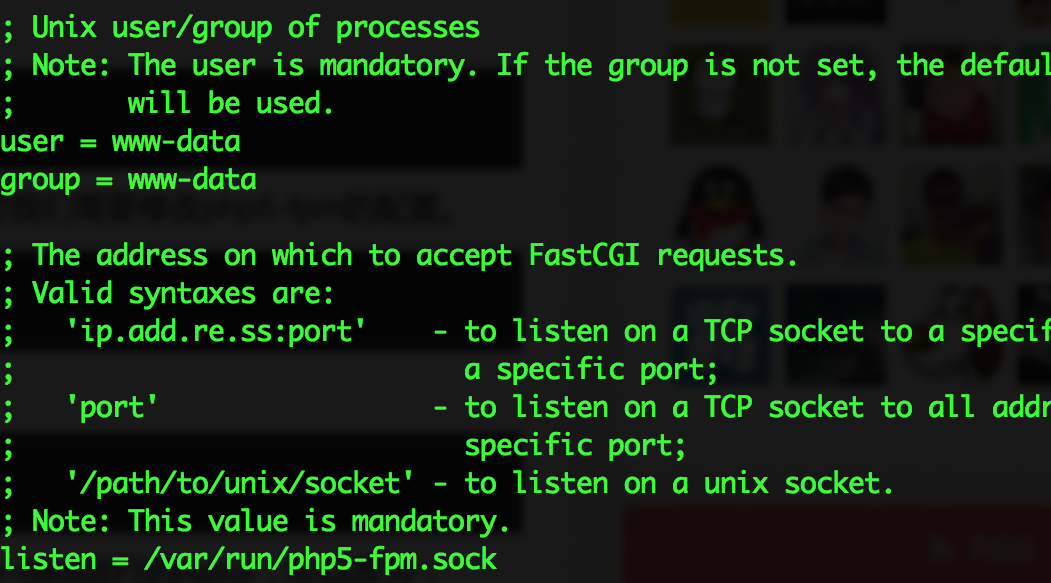
然后修改 /etc/php5/fpm/pool.d/www.conf
1user = www-data
2group = www-data
3listen = /var/run/php5-fpm.sock
如图所示
PHP配置完成,接下来是nginx的配置
修改/etc/nginx/sites-available/default,它的默认内容如下
 1server {
 2  listen 80 default_server;
 3  listen [::]:80 default_server ipv6only=on;root /usr/share/nginx/html;
 4  index index.html index.htm;# Make site accessible from http://localhost/
 5  server_name localhost;location / {
 6  # First attempt to serve request as file, then
 7  # as directory, then fall back to displaying a 404.
 8  try_files $uri $uri/ =404;
 9  # Uncomment to enable naxsi on this location
10  # include /etc/nginx/naxsi.rules
11}
12
13# Only for nginx-naxsi used with nginx-naxsi-ui : process denied requests
14#location /RequestDenied {
15# proxy_pass http://127.0.0.1:8080;
16#}
17
18#error_page 404 /404.html;
19
20# redirect server error pages to the static page /50x.html
21#
22#error_page 500 502 503 504 /50x.html;
23#location = /50x.html {
24# root /usr/share/nginx/html;
25#}
26
27# pass the PHP scripts to FastCGI server listening on 127.0.0.1:9000
28#
29#location ~ \.php$ {
30# fastcgi_split_path_info ^(.+\.php)(/.+)$;
31# # NOTE: You should have "cgi.fix_pathinfo = 0;" in php.ini
32#
33# # With php5-cgi alone:
34# fastcgi_pass 127.0.0.1:9000;
35# # With php5-fpm:
36# fastcgi_pass unix:/var/run/php5-fpm.sock;
37# fastcgi_index index.php;
38# include fastcgi_params;
39#}
40
41# deny access to .htaccess files, if Apache's document root
42# concurs with nginx's one
43#
44#location ~ /\.ht {
45# deny all;
46#}
47}
去掉所有注释后如下,可以看到仅仅配置了根目录与错误404页面
 1server {
 2  listen 80 default_server;
 3  listen [::]:80 default_server ipv6only=on;
 4
 5  root /usr/share/nginx/html;
 6  index index.html index.htm;
 7  server_name localhost;
 8
 9  location / {
10  try_files $uri $uri/ =404;
11  }
12}
让我们首先在域名解析处绑定好一个域名(banwa.wbuntu.com)到服务器,然后再具体配置如下
先下载wordpress
1wget http://wordpress.org/latest.tar.gz
解压
1tar -zxvf latest.tar.gz
创建文件夹,复制文件,最后修改权限
1mkdir -p /var/www
2cp -r ~/wordpress/* /var/www
3chown –R www-data:www-data /var/www
接下来配置 /etc/nginx/sites-available/default
 1server {
 2  listen   80;
 3  root /var/www;
 4  index index.php index.html index.htm;
 5  server_name banwa.wbuntu.com;
 6  location / {
 7      try_files $uri $uri/ /index.php?q=$uri&$args;
 8  }
 9
10  error_page 404 /404.html;
11  error_page 500 502 503 504 /50x.html;
12  location = /50x.html {
13      root /usr/share/nginx/html;
14  }
15
16  # pass the PHP scripts to FastCGI server listening on 127.0.0.1:9000
17  location ~ \.php$ {
18    try_files $uri =404;
19    #fastcgi_pass 127.0.0.1:9000;
20    # With php5-fpm:
21    fastcgi_pass unix:/var/run/php5-fpm.sock;
22    fastcgi_index index.php;
23    include fastcgi_params;
24  }
25}
完成后重启nginx与php-fpm
1service nginx restart
2service php5-fpm restart
现在可以访问了
最后是安装phpmyadmin,对sql熟悉的同学可以手工配置,这里为了方便,我使用phpmyadmin配置wordpress数据库。
1apt-get install phpmyadmin
中间会出现三个提示,我们使用默认设置,然后输入MySQL的root密码,并设定一个给phpmyadmin用于注册MySQL的密码,不填的话会随机生成
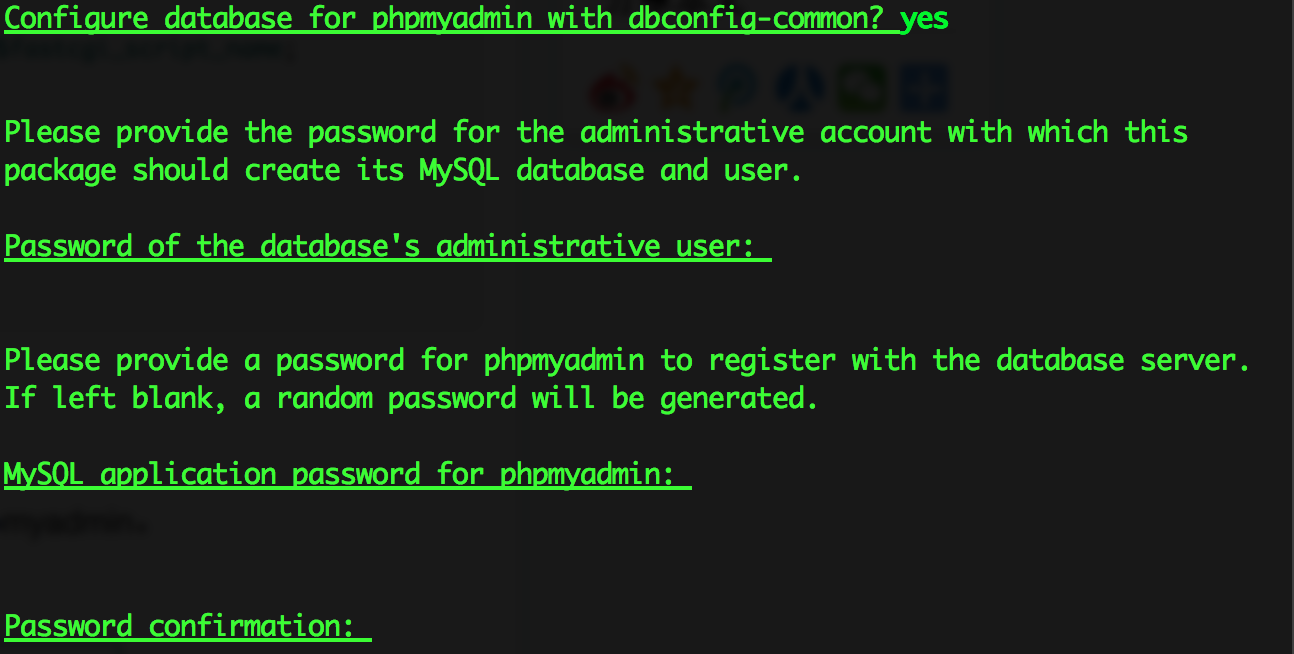
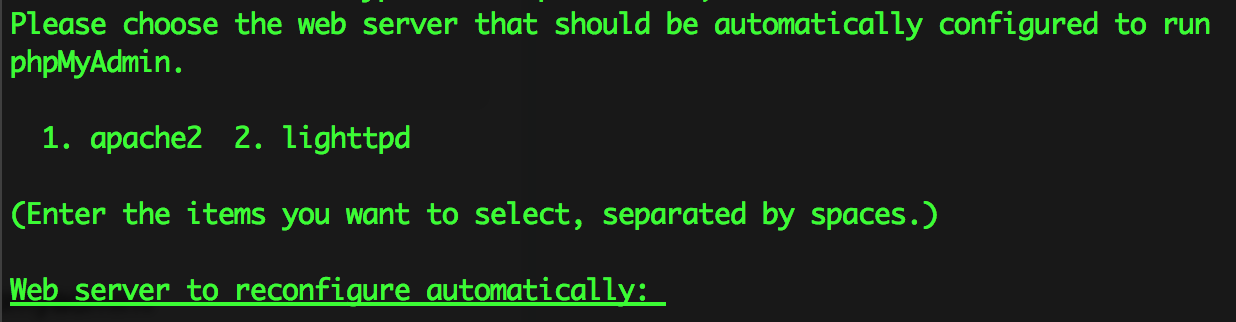
最后弹出选择web server的选项,这里一直不明白,居然没nginx的选项,我就直接回车,居然默默正常设置完了......
还要建立软连接
1ln -s /usr/share/phpmyadmin /var/www
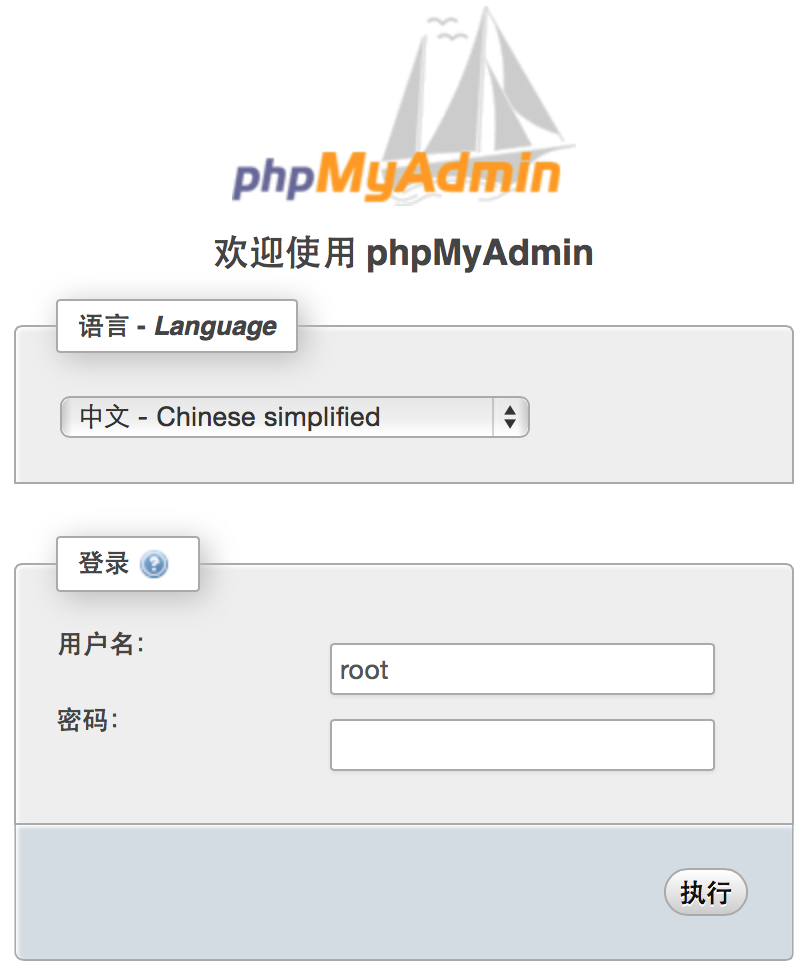
浏览器访问http://banwa.wbuntu.com/phpmyadmin
输入MySQL的root密码
在右侧菜单上选择用户

然后添加用户
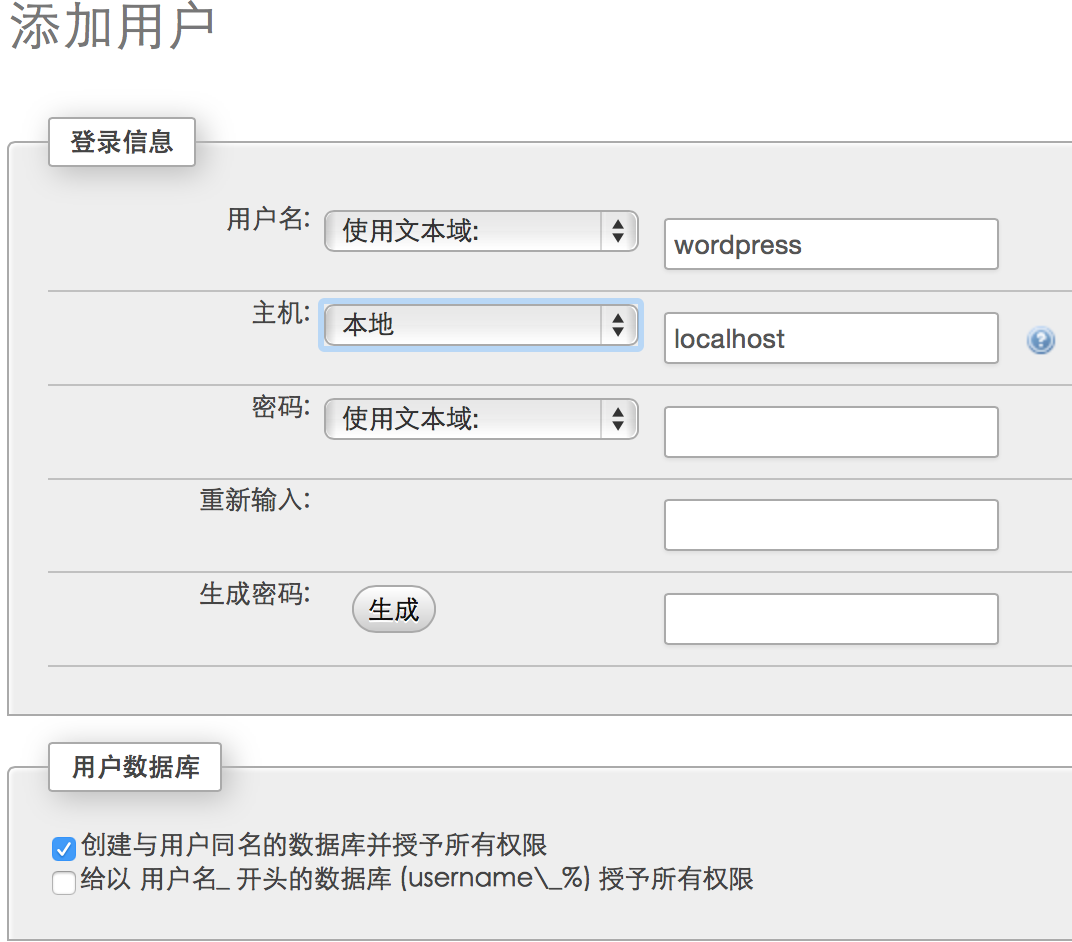
最后执行
接下来访问http://banwa.wbuntu.com/wp-admin/install.php开始安装,填入刚才创建的用户名,主机与密码,安装到此结束