实现登录框的三种方法
文章目录
实现登录框的3个方法
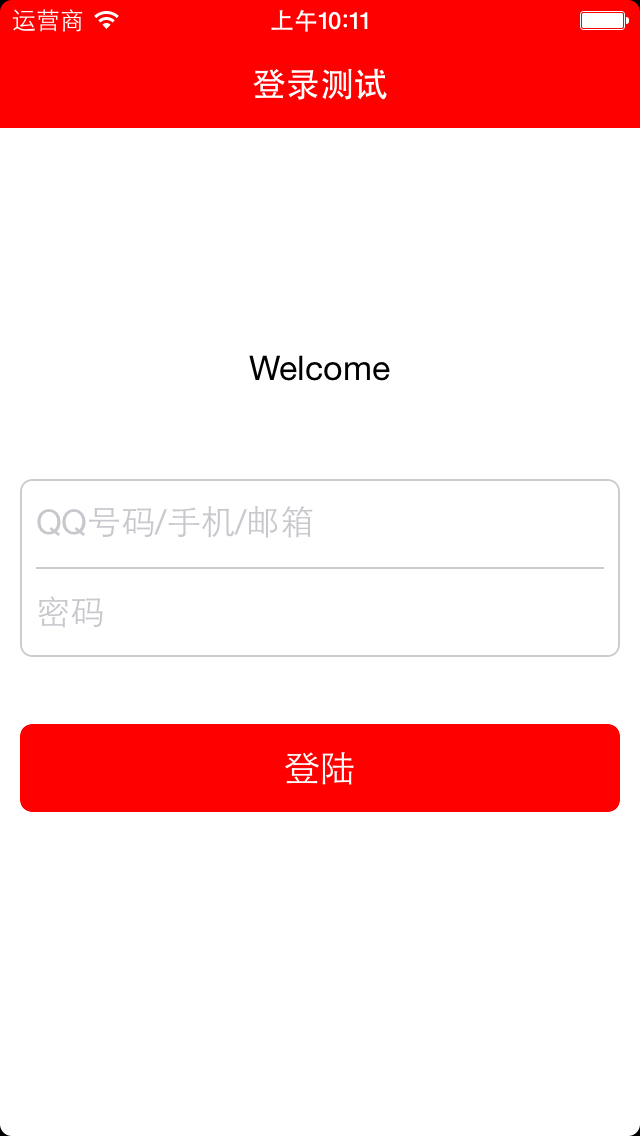
我想实现一个两个输入框相连的登录框架,而且输入框中的文字不能紧贴着左侧或者右侧,而且要有边框
我需要封装一个接口,提供设置UITextField的,下面是RGDInputView.h文件
#import <UIKit/UIKit.h>
@interface RGDInputView : UIView
@property(nonatomic,strong) UITextField *account;
@property(nonatomic,strong) UITextField *passwd;
-(instancetype)initWithFrame:(CGRect)frame placeHolderAccount:  (NSString*)holder1 passwd:(NSString*)holder2;
@end
1.直接堆叠UIView和UITextField
尺寸:输入视图的高度大小为89,输入框大小为44,将输入框的宽度设为父视图宽度减去16,然后在左右留出8点的空间,上下两个输入框间距为1
颜色:背景视图设为白色,y轴45位置的背景视图设为灰色,占位字符和边框也使用同样地灰色
0.8的white
由于是直接堆叠,所以中间的横线只能保持和输入框宽度相同
-(instancetype)initWithFrame:(CGRect)frame placeHolderAccount:(NSString*)holder1 passwd:(NSString*)holder2;
{
self = [super initWithFrame:frame];
if (self) {
    self.backgroundColor = [UIColor whiteColor];
    self.layer.borderWidth = 1.0f;
    self.layer.borderColor = [UIColor colorWithWhite:0.8 alpha:1.0f].CGColor;
    self.layer.cornerRadius = 6.0f;
    self.layer.masksToBounds = YES;
    UIView *grayView = [[UIView alloc] initWithFrame:CGRectMake(8, 44, CGRectGetWidth(frame)-16, 3)];
    grayView.backgroundColor = [UIColor colorWithWhite:0.8 alpha:1.0f];
    [self addSubview:grayView];

    _account = [[UITextField alloc] initWithFrame:CGRectMake(8, 0, CGRectGetWidth(frame)-16, 44)];
    _account.placeholder = holder1;
    _account.keyboardType = UIKeyboardTypeAlphabet;
    _account.clearButtonMode = UITextFieldViewModeWhileEditing;
    _account.backgroundColor = [UIColor whiteColor];
    _account.tag = 10;
    [self addSubview:_account];

    _passwd = [[UITextField alloc] initWithFrame:CGRectMake(8, 45, CGRectGetWidth(frame)-16, 44)];
    _passwd.placeholder = holder2;
    _passwd.keyboardType = UIKeyboardTypeAlphabet;
    _passwd.backgroundColor = [UIColor whiteColor];
    _passwd.clearButtonMode = UITextFieldViewModeWhileEditing;
    _passwd.secureTextEntry = YES;
    _passwd.tag=11;
    [self addSubview:_passwd];
}
return self;
}
实现效果如下
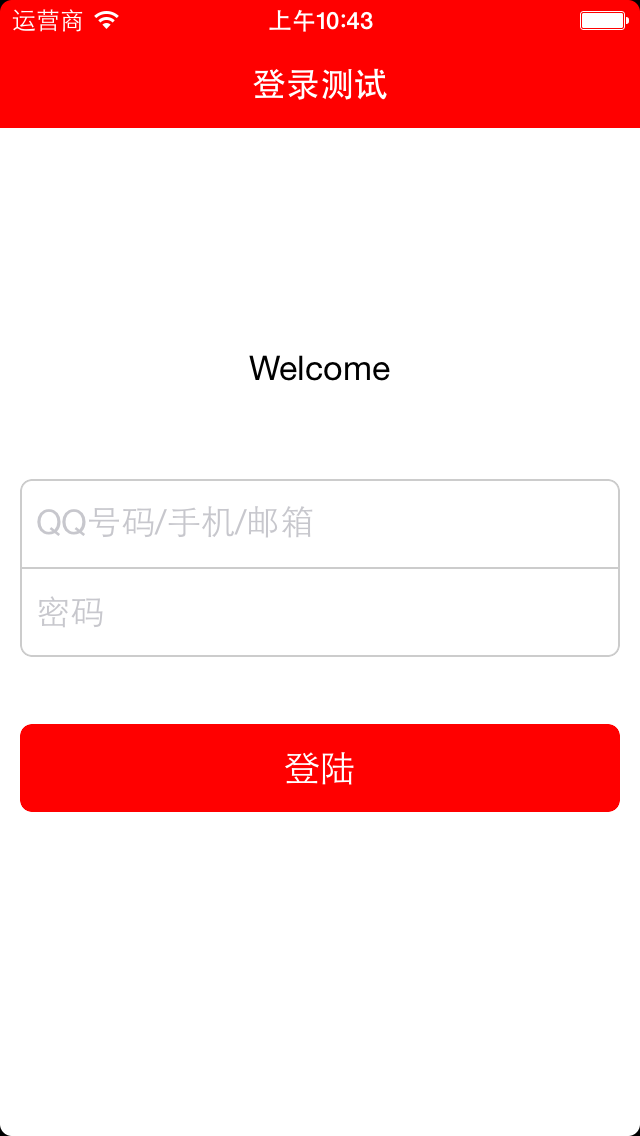
2.继承UITextField,重写有关CGRect的方法
- (CGRect)borderRectForBounds:(CGRect)bounds;
- (CGRect)textRectForBounds:(CGRect)bounds;
- (CGRect)placeholderRectForBounds:(CGRect)bounds;
- (CGRect)editingRectForBounds:(CGRect)bounds;
- (CGRect)clearButtonRectForBounds:(CGRect)bounds;
- (CGRect)leftViewRectForBounds:(CGRect)bounds;
- (CGRect)rightViewRectForBounds:(CGRect)bounds;
创建一个子类重写上述的方法,自定义定义输入框中呈现内容的范围,这里我们只重写第一个和第四个,这样定义好的输入视图中,两个输入框由完整地横线分开,首行也有缩进
@interface RGDTextField : UITextField
@end

@implementation RGDTextField

-(CGRect)textRectForBounds:(CGRect)bounds
{
    return CGRectInset(bounds, 8, 0);
}

-(CGRect)editingRectForBounds:(CGRect)bounds
{
    return CGRectInset(bounds, 8, 0);
}
@end
接下来只要设置背景视图为灰色就行
尺寸:两个输入框高度44,宽度与父视图相同,中间留出一个点的宽度作为边框
颜色:占位符与边框已经父视图背景色设为0.8的white
-(instancetype)initWithFrame:(CGRect)frame placeHolderAccount:(NSString*)holder1 passwd:(NSString*)holder2;
{
self = [super initWithFrame:frame];
if (self) {
    self.backgroundColor = [UIColor colorWithWhite:0.8 alpha:1.0f];
    self.layer.borderWidth = 1.0f;
    self.layer.borderColor = [UIColor colorWithWhite:0.8 alpha:1.0f].CGColor;
    self.layer.cornerRadius = 6.0f;
    self.layer.masksToBounds = YES;

    _account = [[RGDTextField alloc] initWithFrame:CGRectMake(0, 0, CGRectGetWidth(frame), 44)];
    _account.placeholder = holder1;
    _account.keyboardType = UIKeyboardTypeAlphabet;
    _account.clearButtonMode = UITextFieldViewModeWhileEditing;
    _account.backgroundColor = [UIColor whiteColor];
    _account.tag = 10;
    [self addSubview:_account];

    _passwd = [[RGDTextField alloc] initWithFrame:CGRectMake(0, 45, CGRectGetWidth(frame), 44)];
    _passwd.placeholder = holder2;
    _passwd.keyboardType = UIKeyboardTypeAlphabet;
    _passwd.backgroundColor = [UIColor whiteColor];
    _passwd.clearButtonMode = UITextFieldViewModeWhileEditing;
    _passwd.secureTextEntry = YES;
    _passwd.tag=11;
    [self addSubview:_passwd];
}
return self;
}
实现效果如下
3.使用CAShapeLayer绘制边框
同第二种方法的尺寸,背景视图的颜色设为白色,这次我们直接在背景视图中绘制出边框和两个输入框之间的分隔线,我们同样需要重写UITextField的两个方法来使输入框有首行缩进的效果,然后再绘制边框
-(instancetype)initWithFrame:(CGRect)frame placeHolderAccount:(NSString*)holder1 passwd:(NSString*)holder2;
{
self = [super initWithFrame:frame];
if (self) {
    self.backgroundColor = [UIColor whiteColor];

    _account = [[RGDTextField alloc] initWithFrame:CGRectMake(0, 0, CGRectGetWidth(frame), 44)];
    _account.placeholder = holder1;
    _account.keyboardType = UIKeyboardTypeAlphabet;
    _account.clearButtonMode = UITextFieldViewModeWhileEditing;
    _account.tag = 10;
    [self addSubview:_account];

    _passwd = [[RGDTextField alloc] initWithFrame:CGRectMake(0, 45, CGRectGetWidth(frame), 44)];
    _passwd.placeholder = holder2;
    _passwd.keyboardType = UIKeyboardTypeAlphabet;
    _passwd.clearButtonMode = UITextFieldViewModeWhileEditing;
    _passwd.secureTextEntry = YES;
    _passwd.tag=11;
    [self addSubview:_passwd];

    UIBezierPath *path = [UIBezierPath bezierPathWithRoundedRect:frame byRoundingCorners:UIRectCornerAllCorners cornerRadii:CGSizeMake(6.0f, 6.0f)];
    [path moveToPoint:CGPointMake(0, 44.5)];
    [path addLineToPoint:CGPointMake(CGRectGetWidth(frame), 45.5)];

    CAShapeLayer *shapeLayer = [CAShapeLayer layer];
    shapeLayer.strokeColor = [UIColor colorWithWhite:0.8 alpha:1.0f].CGColor;
    shapeLayer.fillColor = [UIColor clearColor].CGColor;
    shapeLayer.lineWidth = 1;
    shapeLayer.lineJoin = kCALineJoinRound;
    shapeLayer.lineCap = kCALineCapRound;
    shapeLayer.path = path.CGPath;

    [self.layer addSublayer:shapeLayer];
}
return self;
}
效果图如下

为什么需要在44.5的位置绘制分隔线呢?
我的布局是
0-(上输入框)-43
44-(分隔线)-45
45-(下输入框)-89
控件大小从1开始计数,位置从0开始计数,而绘制线条时,设宽度为1,若在y轴45的位置绘制一条平行于x轴的横线,线条的中心在45,同时向两边扩展0.5,覆盖的范围是44.545.5,我需要在4445间分隔两个输入框,所以需要在44.5的位置绘制直线, 因为实际的线条仍旧是由像素点组成的下面是绘制在44与45位置时的情况,将背景视图设为黑色,输入框背景设为白色,线条为灰色,可以看到没有被覆盖住的部分透出黑色背景
绘制在44,底部透出背景色

绘制在45,顶部透出背景色
